Settings
Account Details
By clicking on your email address from within in the COSMOS Toolbar, it is possible to change your details including your name and email address. Also, from this section of COSMOS, it is also possible to update your password:
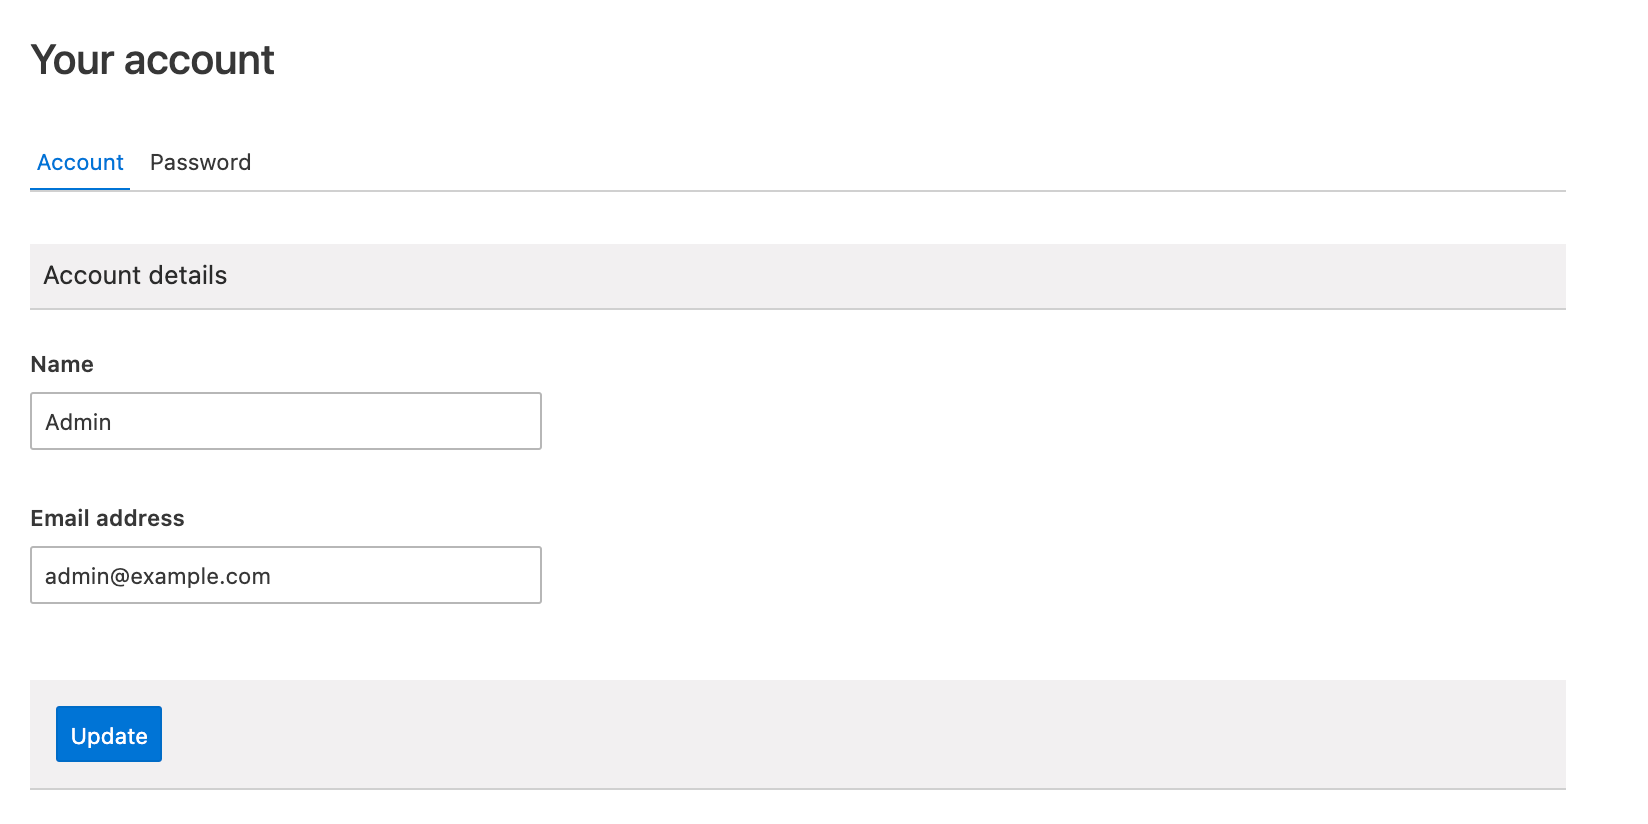
To change your name and email address, simply change the details and click 'Update'.
Changing your Password
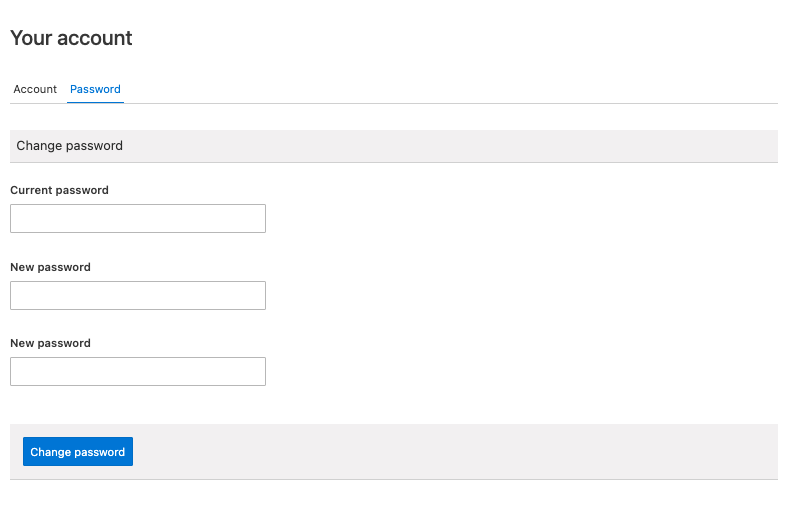
In order to maintain security, or in the event of a need to change a user password, this is completed here. Arriving from the COSMOS Toolbar, clicking on the 'Password' tab asks the End User for the following information:
Current password: the password used by the user to login to COSMOS
New password: the new password required for access to COSMOS. This is required twice.
Once a new password has been supplied, click 'Change Password' to store it.
The new password must be 8 characters or more.
General
General Settings are only available to users with the Admin role within COSMOS. If you are unsure as to the impact of the changes, it is recommended that these settings remain unchanged.
The General Settings area of COSMOS enable several options within COSMOS. These are:
Enable new user self-registration: This provides new users for COSMOS to sign-up using their email address. When this is option is disabled, an End-User must be given their username and password from a COSMOS administrator or the Living Lab Team. As of v3.4.0, this option is enabled by default.
Auto-save projects: Auto-save ensures that projects are automatically saved after every action is performed by the End-User. This ensures that any responses or updates to a project are saved without the need to constantly click 'Save'. As of v3.4.0, this option is enabled by default. More information regarding auto-save and saving is found within the COSMOS Toolbar section.
Fathom tracking Site ID: COSMOS uses Fathom Analytics (https://usefathom.com/) for it's site-based analyitcs. The Site ID can be generated from Fathom and inserted here. To do so, an account with Fathom is required and the Site ID, once created in Fathom, should be entered here.

Email settings are only available to users with the Admin role within COSMOS. If you are unsure as to the impact of the changes, it is recommended that these settings remain unchanged.
In order for COSMOS to send emails to new users, it is necesary to configure specfic email settings. Whilst these settings are now set as default in COSMOS, some users may need their own settings to enable the sending of email. As of v3.4.0, these settings are provided by default, however customised email settings may be required for some instances.
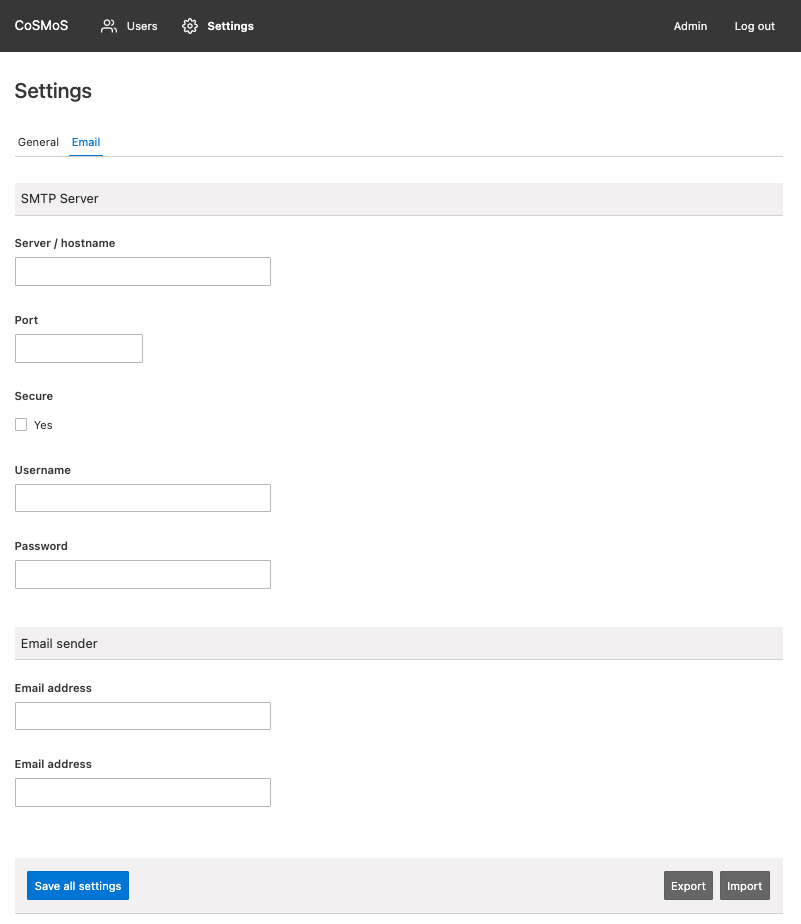
SMTP Server
Within this section, the known details of an email server which is enabled to send emails must be added. Please contact your ISP or email service provider for these details.
Email Sender
Email Address (#1): This is the actual email address of the sending email account. The format must be that of of an email e.g. someone@test.com.
Email Address (#2): This is the name of the email sender. This can be any value.
Export / Import Email Settings
Export
Should it be necessary to Export a complete set of email settings (for example to another instance or for backup), it is possible to do this using COSMOS. By clicking 'Export', the following box appears:
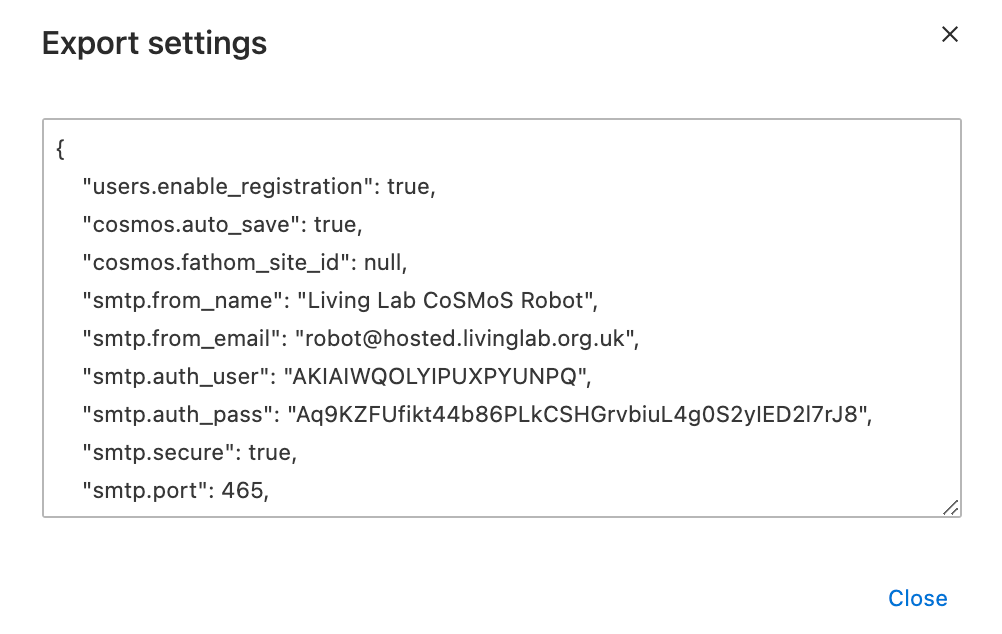
Select all the text from inside the box and copy it to the clipboard. Then click 'Close'.
Import
To Import the settings from another instance, click the 'Import' button. The following box will appear:

Paste the copied text from the 'Export' process above into the box and click 'Import'. The email settings will now be imported.
User Management
As an administrator or facilitor, it may be necessary to invite a user that may not have a) signed up to COSMOS or b) may bot be a part of COSMOS that has new user registration enabled.
As such, it may be necessary to invite users to COSMOS. This achieved using the following steps:
In order to perform these steps, a user must have the 'Admin' role within COSMOS
1) Click on the username / email address within the COSMOS Toolbar. The following toolbar will now appear:

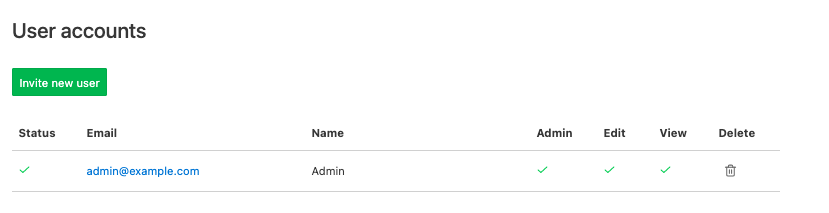
2) Click 'Users'. The following screen will appear:
3) Click 'Invite new user'. Enter a name and email address of the new users.
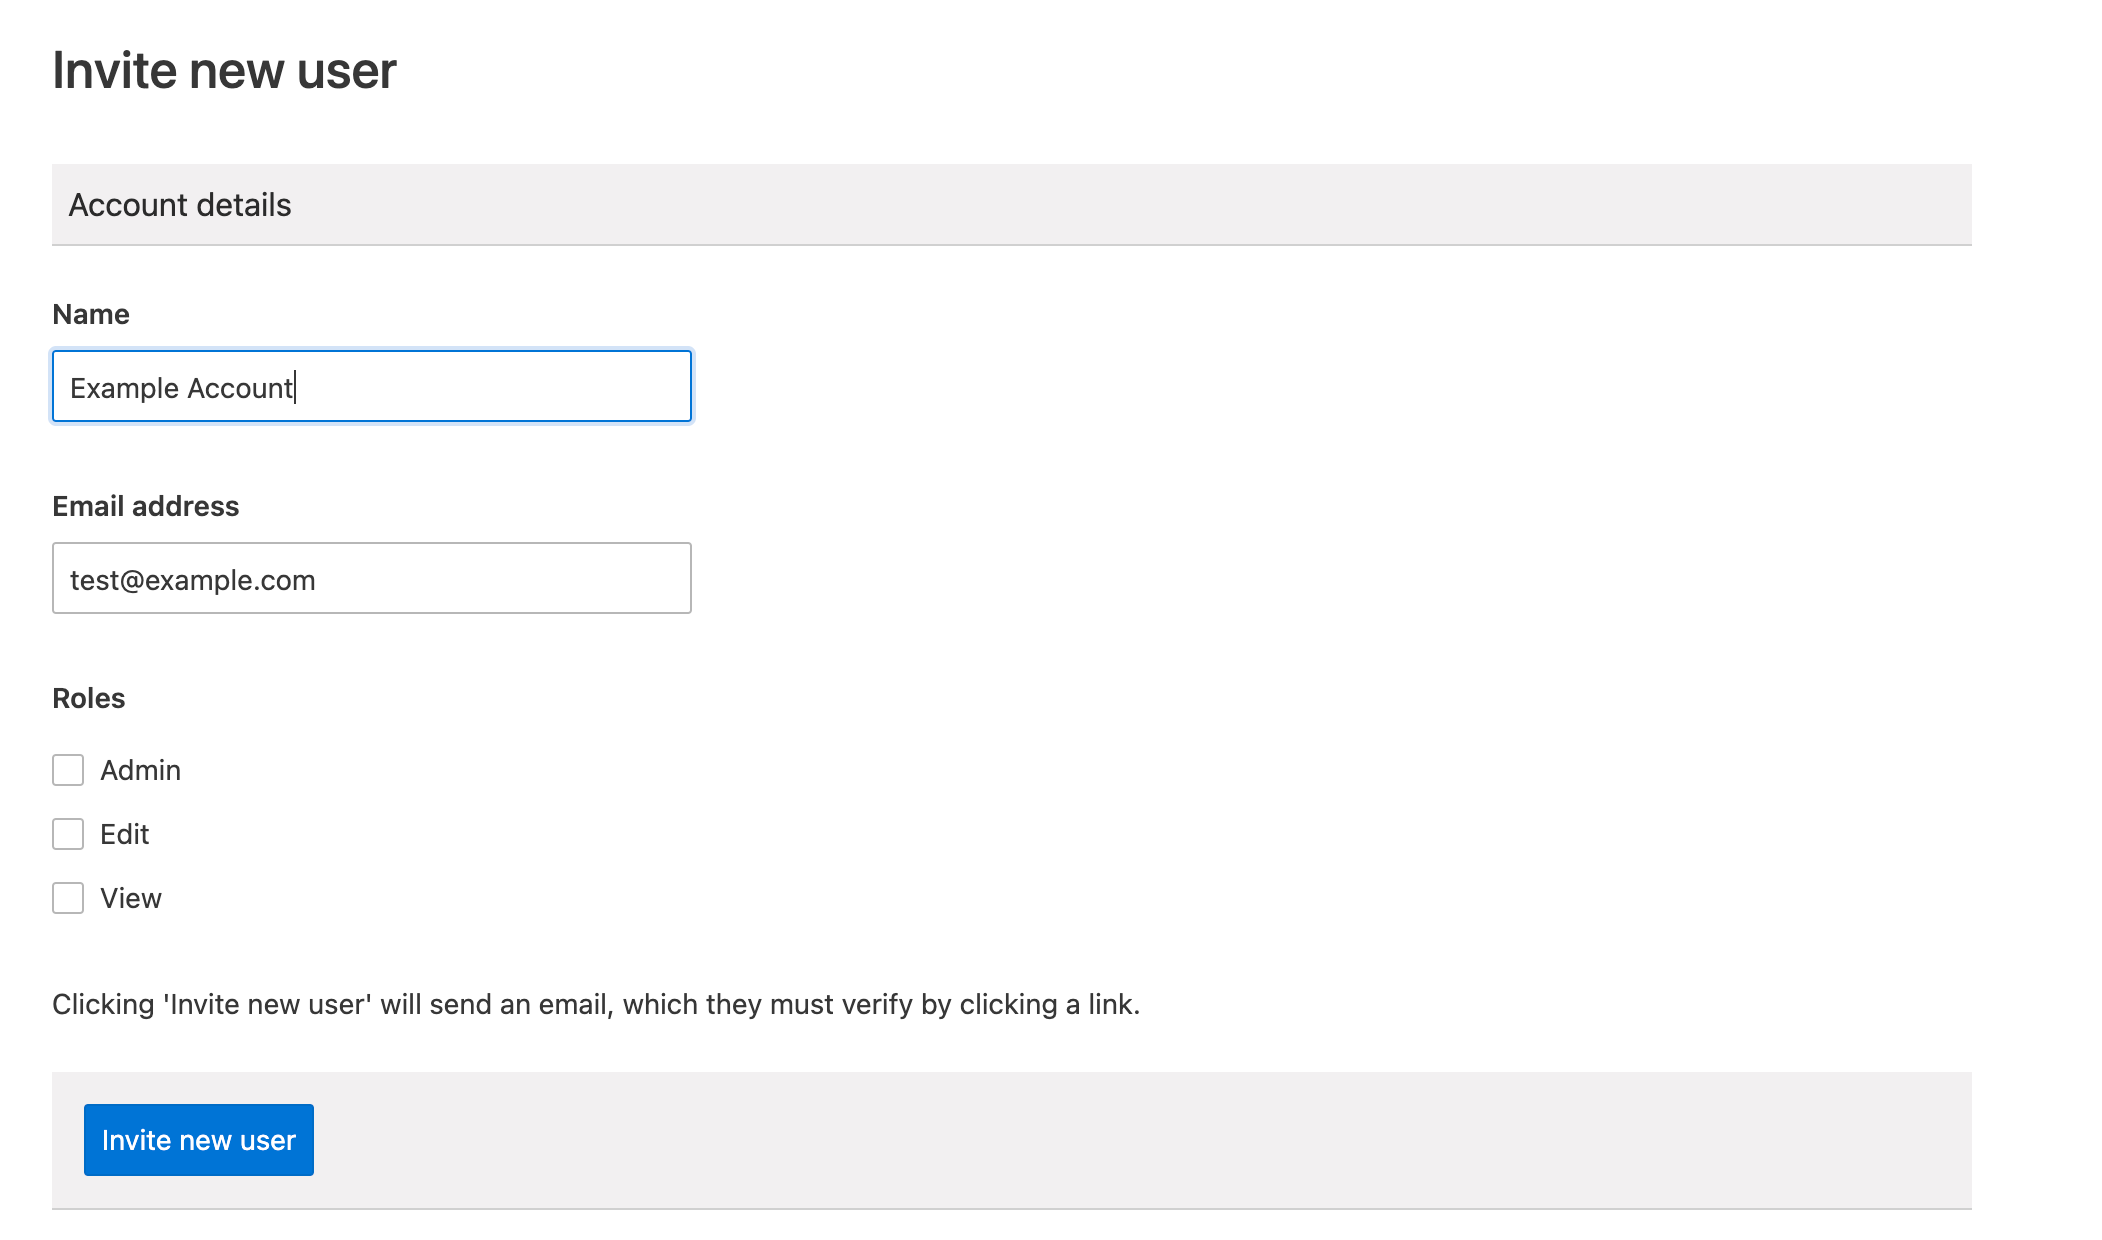
4) Provide the user with the correct role.
|
Admin |
The user will be able to see all other projects - including their own - as well as administer COSMOS |
|
Edit |
The user will be able to edit any project that they create or have access to. |
|
View |
The user will be only able to view any project that they have access to. |
5) Once completed, click 'Invite new user'. This will send an email to the new user, whereby they have to click on a link to commence the signup process.
6) The list of users - and their status and permissions - will then appear in the user account list.